3 Easy Ways on How to Cook Frozen Lumpia (Updated 2025)
In this article, we’re going to look at how to cook frozen lumpia at home. Read on to find out more.
Different countries have their unique versions of popular foods, derived from Asia, Western countries, and other regions.
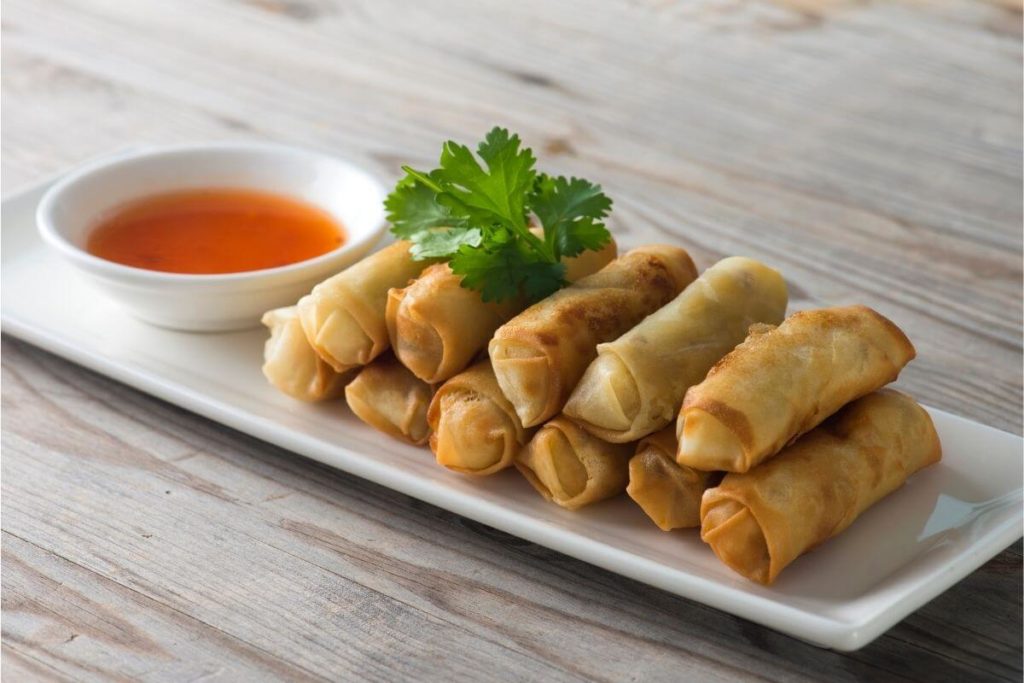
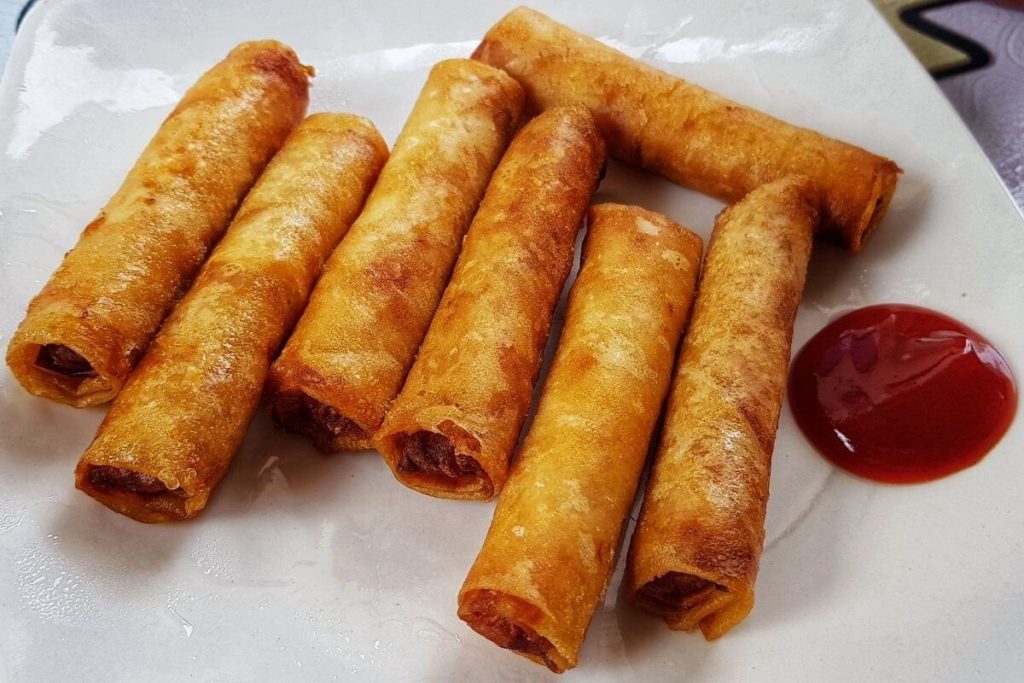
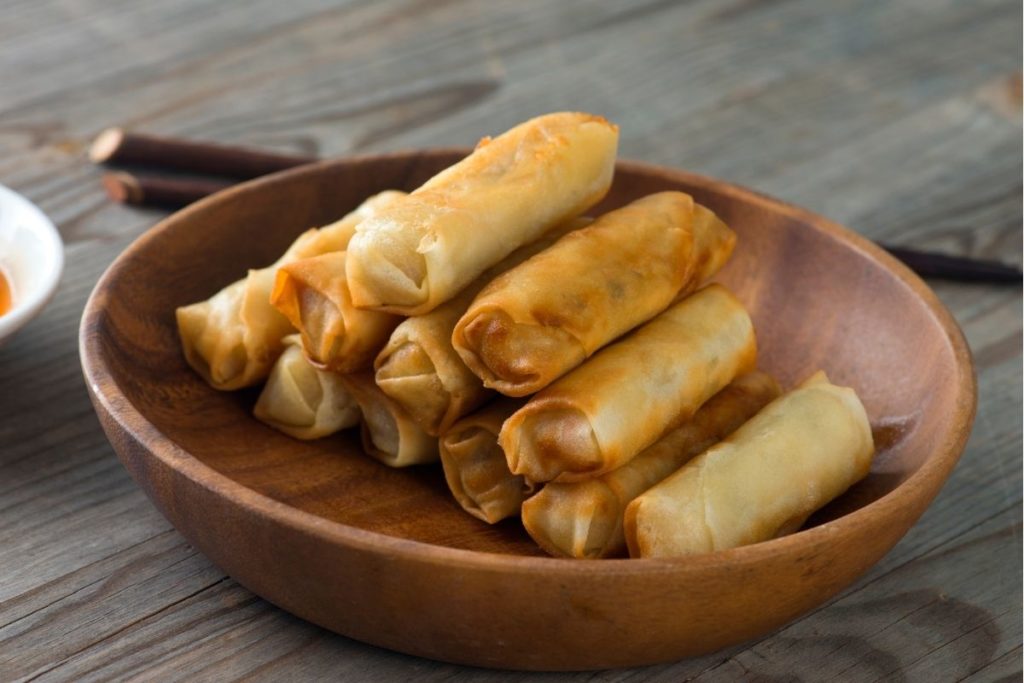
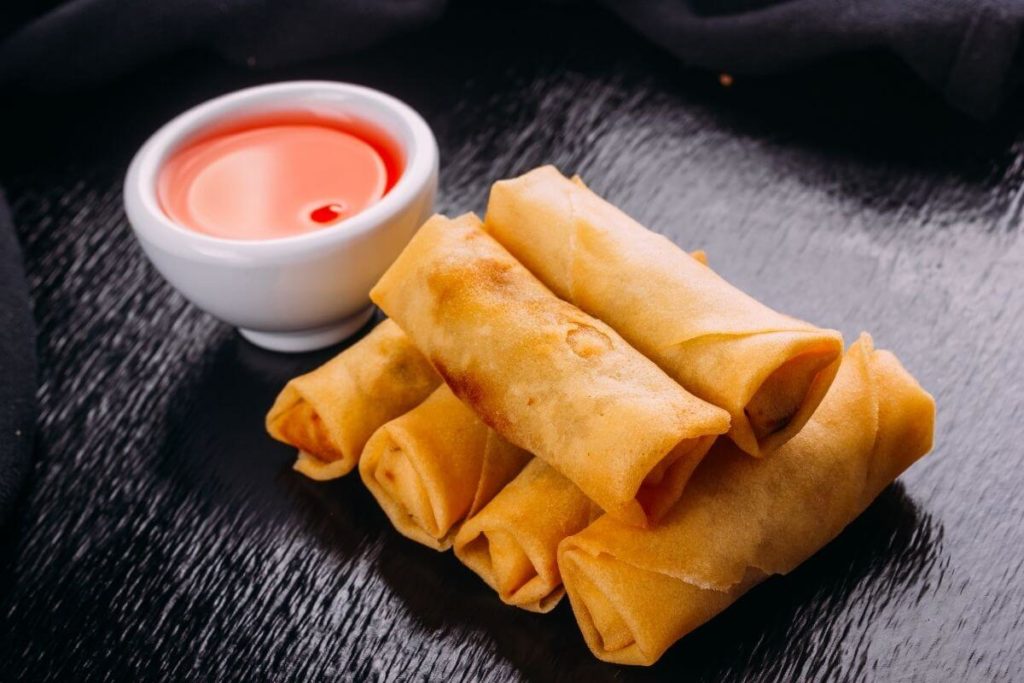
Lumpia, for instance, is a Filipino version of spring rolls, that are equally crispy, nourishing, and delicious.
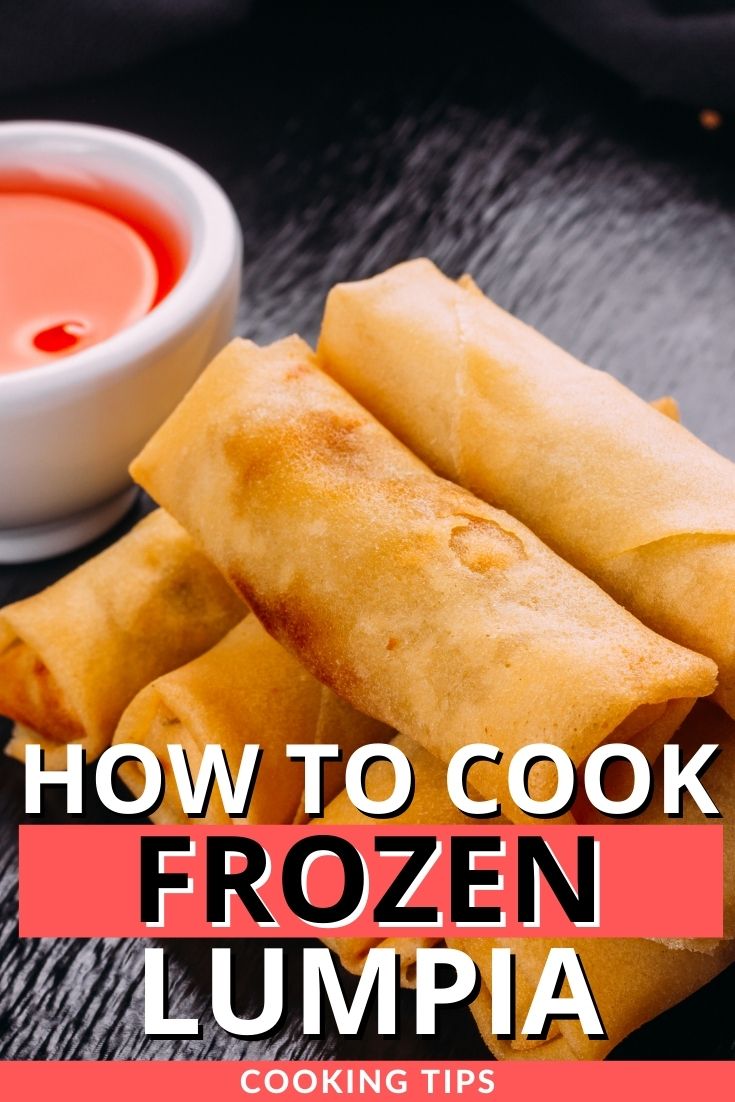
They’re perfect as an appetizer or finger food, dunked into a sour dipping sauce or sweet chili.
This particular dish gained a lot of attention for its crispy texture and good filling, composed of vegetables and ground meat.
In fact, you can even buy large quantities in the grocery store, and store them in your freezer. Frozen lumpia is easy to cook, as long as you have the right kitchen appliance.
How to Cook Frozen Lumpia
There are a lot of ways to cook frozen lumpia.
Frying is best, but the temperature must not be too high—if it is, you’re only going to fry the spring roll wrapper and not the content.
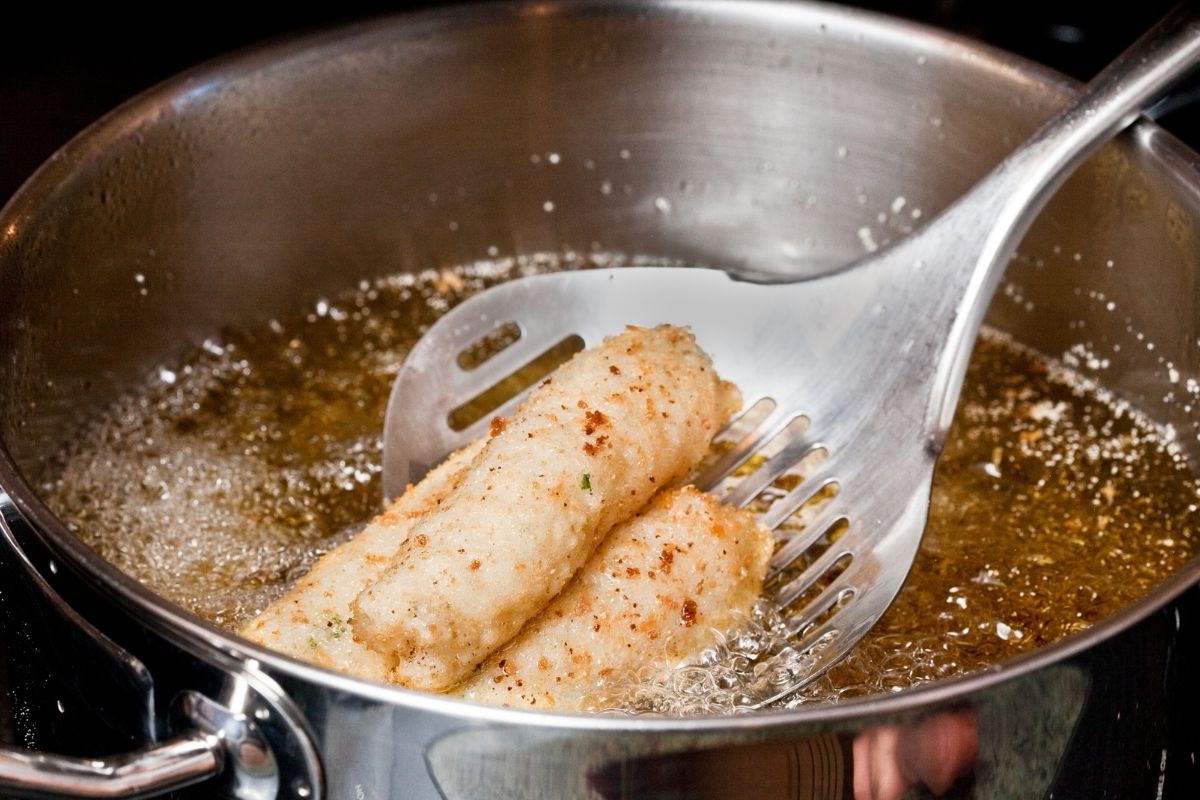
1. How to Cook Frozen Lumpia by Frying
This is still the best way to cook frozen lumpia, as you can make it crispy and juicy. Since the food is frozen, you need to take it easy on the heat.
Use tongs to cook the lumpia, carefully avoiding them from sticking together. To reach a golden brown color, you’ll have to turn the lumpia or opt for deep frying.
This way, heat evenly distributes, leaving no part uncooked.
Place cooked lumpia on a plate lined with paper towels to get rid of excess oil.
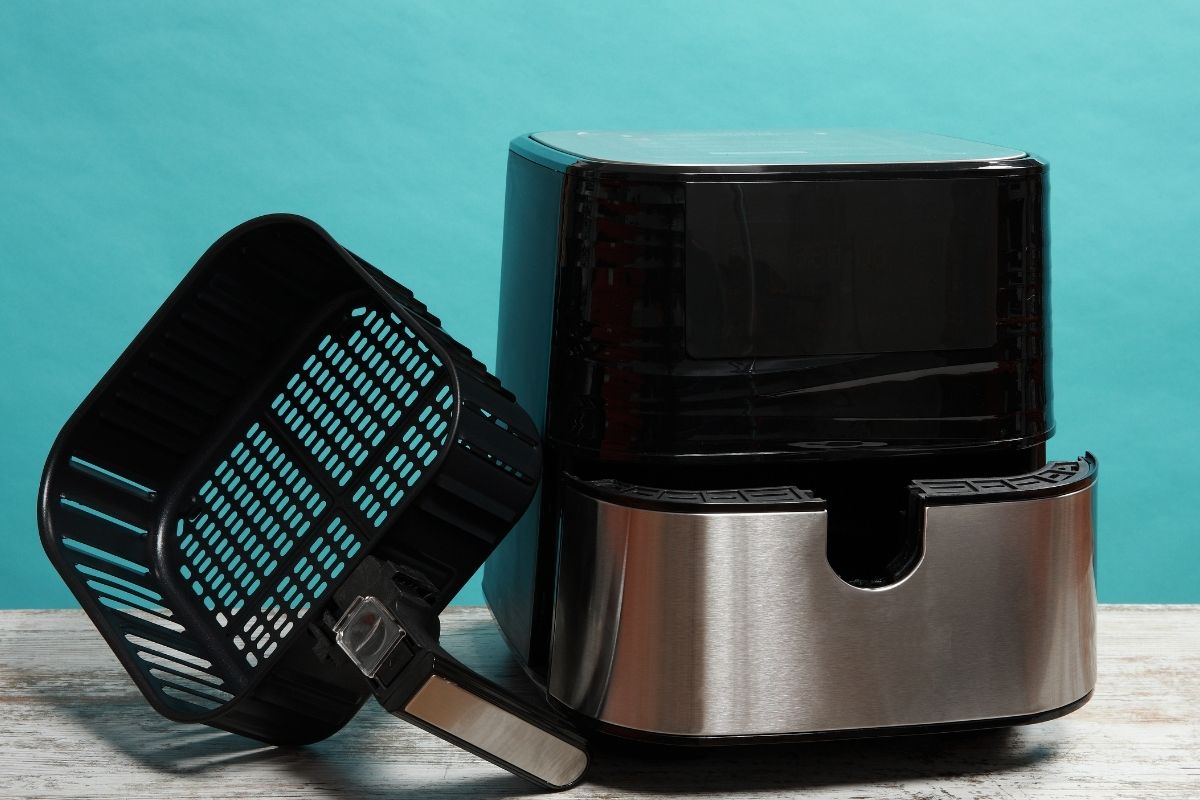
2. How to Cook Frozen Lumpia with an Air Fryer
An alternative way to cook frozen lumpia is by using an air fryer. This modern kitchen appliance allows you to fry foods without any oil.
Simply preheat the appliance before tossing the lumpia inside.
However, make sure not to overload the fryer, or some lumpia will not cook properly.
It’s also important to spray a little bit of oil, just so the lumpia won’t stick together.
3. How to Bake Frozen Lumpia
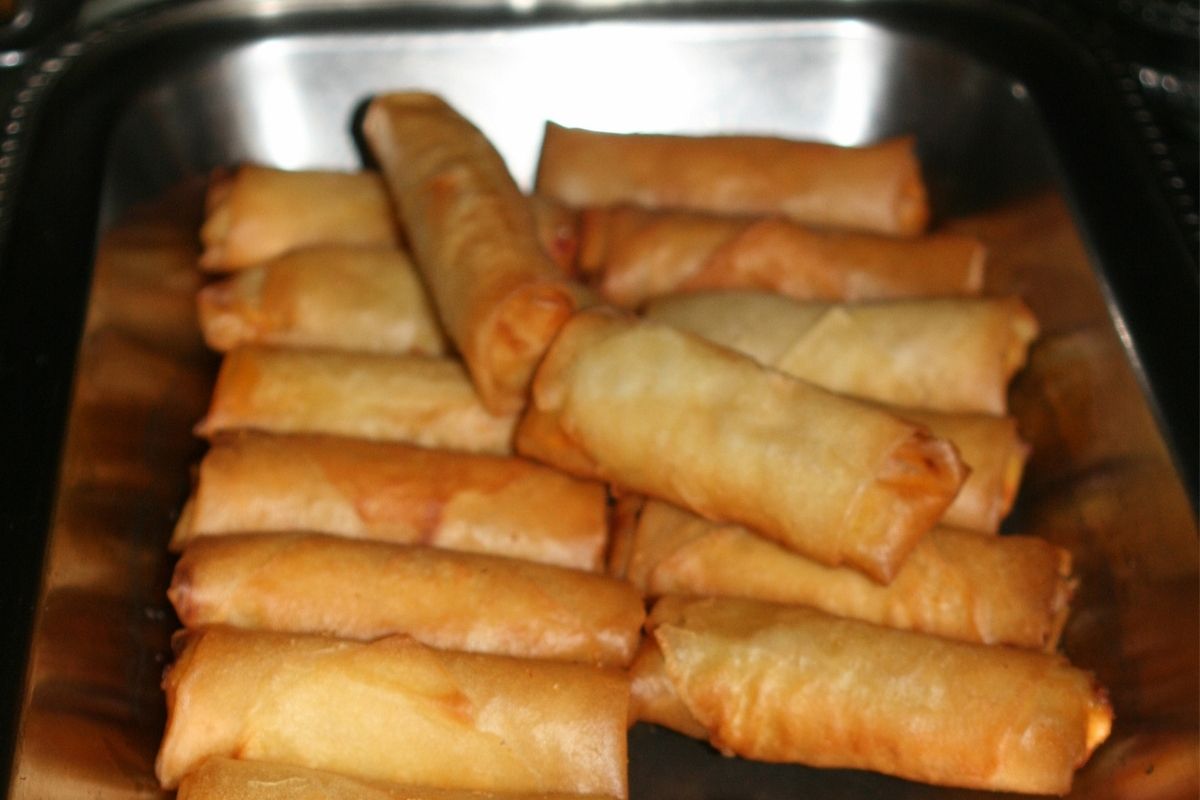
Similar to the air fryer, you can preheat the oven and pop the lumpia inside.
Here, you have to use a baking dish or cookie sheet to arrange the rolls in a single layer.
Make sure each lumpia is 1 inch apart.
Remove the batch after about 15 minutes, or when the wrapper appears golden brown.
Note: Don’t let the lumpia thaw before cooking because this will make them soggy and hard to chew.
Try to cook them immediately to avoid this situation.
What Are Lumpia?
As mentioned, a lot of countries bring new innovations and renditions to food or recipes, enhancing the flavor, texture, and overall eating experience.
For lumpia, you’re looking at some fresh mixed vegetables, chopped thinly, combined with seasoned ground pork or beef.
This is a famous delicacy in the Philippines, served at small or big parties, and can be found in any restaurant.
They use spring roll wrappers to enclose all the contents, then deep fry them to perfection.
There are also other areas in the Philippines that use seafood as a replacement for pork or beef.
If you’re not familiar with another famous type of lumpia, called Sariwa or ‘fresh’, it’s filled with veggies and dipped in a sweet, nutty sauce.
Instead of spring roll wrappers, it uses thin, homemade crepes to wrap everything—no frying.
This is why it’s called fresh lumpia.
How to Make Lumpia
It’s easy to make lumpia as it involves very few ingredients.
Follow the steps below to prepare lumpia for your friends and family.
- Chop carrots and onion. Dice finely and set aside.
- Prepare the ground pork or beef. Season with salt, pepper, and thyme to taste.
- Pour the vegetables into the seasoned ground pork or beef. Mix evenly until vegetables are distributed.
- Add cheese for flavor, optional.
- Lay down the spring roll wrapper, fill with the ground pork with vegetables, then wrap it like a regular spring roll.
- Repeat the process until there’s no filling mixture left.
- Prepare a pan with oil.
- Fry the lumpia by batch. Remove when the wrapper turns golden brown.
For the sauce, you can easily find a ready-made sweet chili dip in any supermarket.
To spice things up, you can add more hot sauce to the dip.
Takeaway
Trying new food options, such as the Philippines’ lumpia, is great—tasting new textures and flavors.
There’s nothing wrong with buying in bulk, so you can serve it to your family, but also remember to use the proper cooking method to get the best outcome.
For frozen lumpia, simply deep-fry for that crispy texture, use the air fryer, or the oven. Happy eating!
PrintHow to Cook Frozen Lumpia
The crunch sound offers pure gourmet happiness when biting into a crisp air-fried lumpia. This savory Filipino delicacy has meat & veggies or seafood filling packed in a thin crepe-like wrapper.
Learn how to cook frozen lumpia in an air fryer quickly within minutes!
- Prep Time: 5 minutes
- Cook Time: 8 minutes
- Total Time: 13 minutes
- Yield: 3 servings
- Category: Cook
- Method: Air Fryer
- Cuisine: Meal
Ingredients
- Frozen lumpia
- Cooking oil
- Air fryer
Instructions
- Set the air fryer for preheating at 390° F for 3-5 minutes.
- Meanwhile, arrange the frozen lumpia in the basket in a single layer leaving about a half-inch gap between each piece. Then, spray each lumpia with oil.
- Air fry the frozen lumpia for 8 minutes at 390° F.
- At 4 minutes intervals, flip or roll the lumpia for even cooking.
- Lastly, remove into a serving dish and enjoy with dipping sauce.
Notes
- Besides the classic sweet chili dipping sauce, lumpia tastes incredible when dipped in Thai peanut or soy-ginger sauce.
- Lumpia makes a yummy snack platter. It can also be served alongside sushi, chicken/vegetable soup, or a refreshing cucumber salad.
you may also like
well hello there!

Hi, I'm Linda thanks for stopping by! We're so happy you're here. If you're a foodie and love to cook from home - you're in the right place..
LEARN MORE
free newsletter
Join the mailing list and receive our free newsletter!
recent posts
let's be social
search site
Recipe Marker
Recipe Marker provides you with the best information about home cooking tips, recipes, ingredient substitutes and more. Check out our blog to see the latest articles.
Copyright © 2024 Recipemarker.com | All Rights Reserved | Privacy | Disclaimer | Contact
