5 Best Ways to Reheat Your Leftover Bloomin Onion! (Updated 2024)

Check out this article to discover how to reheat a Bloomin Onion while keeping its crispness.
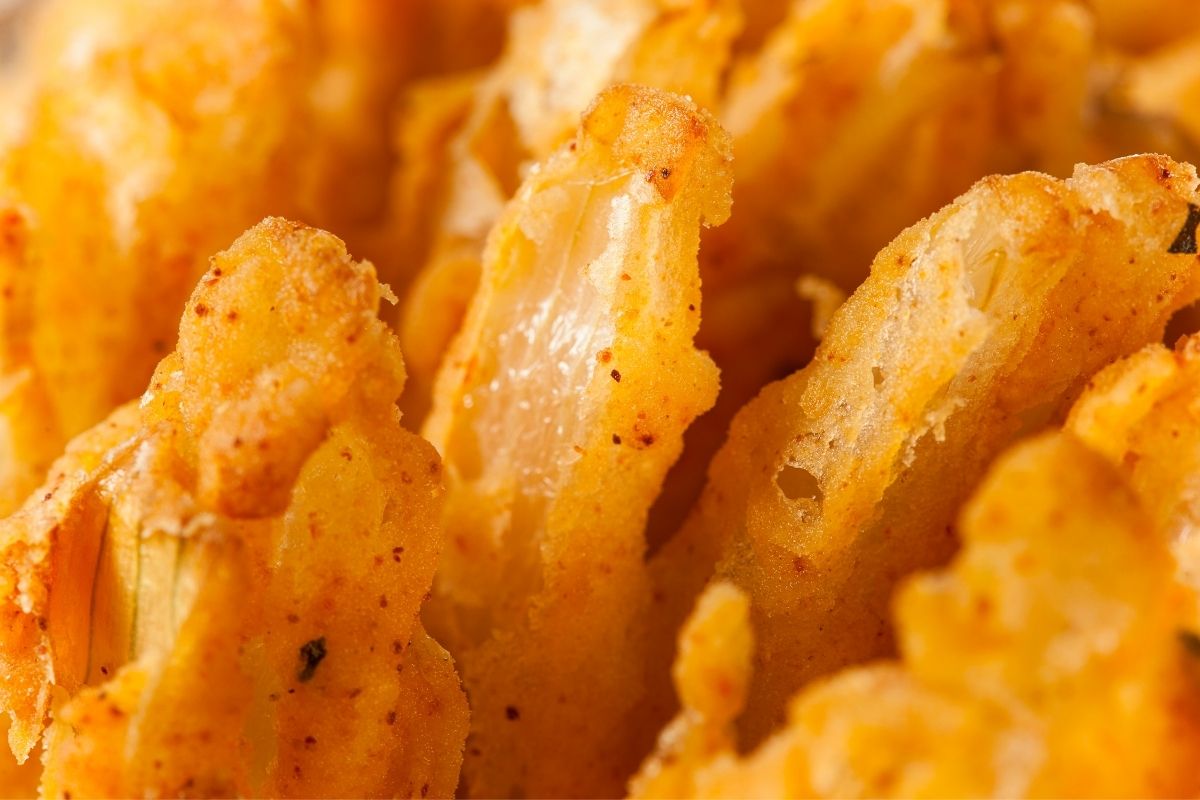
The Bloomin Onion is an excellent appetizer because of its floral beauty and crispy, spiced crust. It is best to eat Bloomin Onions when they are warm. But you can still reheat them to restore their freshness if you’ve brought home leftovers.

You can reheat Bloomin Onions without them becoming mushy or burned, simply follow the instructions below properly.
How to Reheat a Bloomin Onion
1. Reheat Bloomin Onion Using Microwave

Microwaving your Bloomin Onion is an effective method to reheat it. This will deliver speedy results, but your onions may not be as crisp.
A helpful tip to achieve a better outcome, use a piece of cardboard, ideally corrugated and free of labels or stickers.
- Fold your cardboard accordion-style, cutting tiny pieces with a knife to make it simpler to fold if needed. Make the cardboard level to set the onion on the accordion’s top.
- Put inside a microwave-safe dish.
- The tray allows for ventilation and elevates your onion, preventing it from becoming mushy. Although it is not the ideal solution, this method really does work.
- Heat your Bloomin Onion in the microwave on medium to low heat.
- The onion is ready when it turns crispy and brown.
- Serve and enjoy!
2. Reheat Bloomin Onion Using Oven

Another good option to reheat your Bloomin Onion is in the oven. This method will keep the crispness of the Bloomin Onion.
- Preheat the oven to 425 degrees Fahrenheit.
- Place a wire rack on top of a baking dish to let the grease drain and prevent your onion from becoming soggy.
- Place the Bloomin Onion on the wire rack and bake for 10 minutes
- Switch the oven to broil. Keep in mind that the onion should be crispy on both the top and bottom sides.
- After 3 minutes, check the onion. Your appetizer is heated enough when you hear a sizzle and the outside layer becomes brownish.
- Serve and enjoy!
3. Reheat Bloomin Onion Using Frying Pan
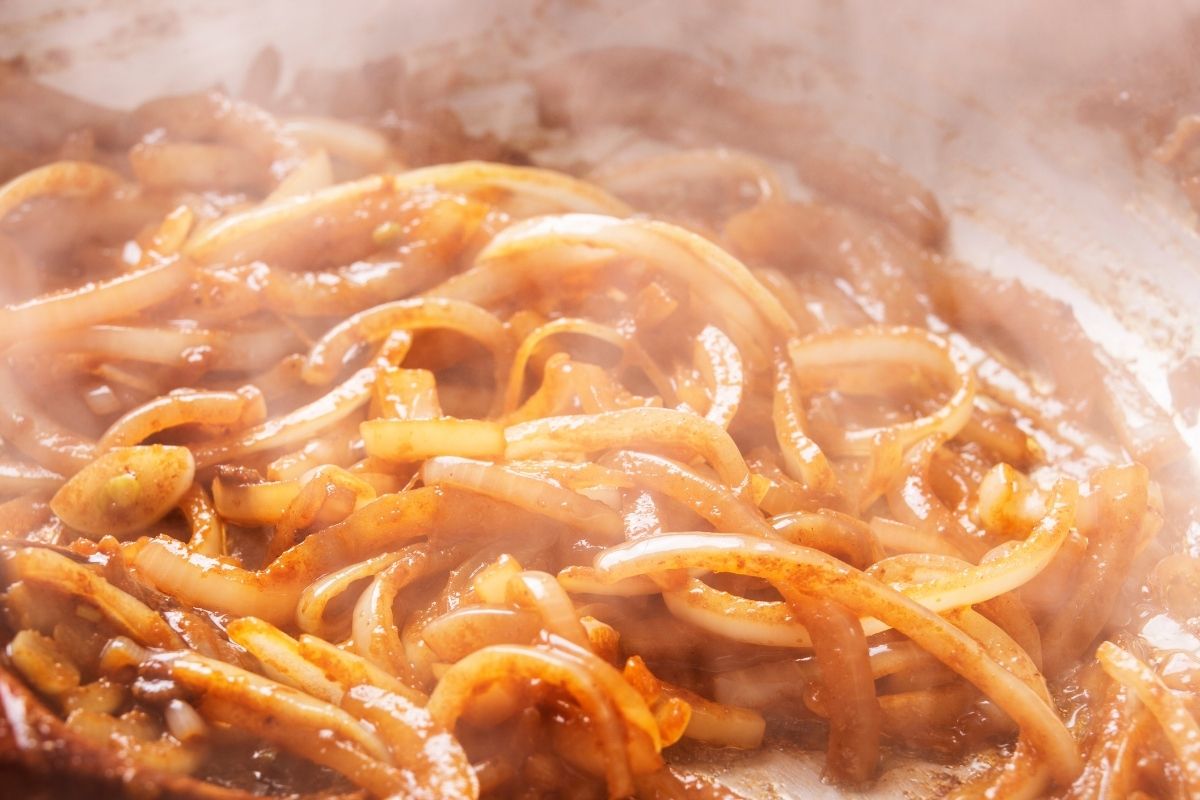
How about using a frying pan? You can opt to reheat a Bloomin Onion by pan-frying it. This method can also bring back the crispiness of your onion.
- Detach the onion’s “petals.”
- Heat the frying pan over medium-high heat.
- Add a batch of petals. Do not overcrowd them in the pan.
- Keep a watch on it while reheating to avoid burning.
- Switch off your stovetop once it begins to sizzle and releases a pleasant aroma.
- Serve and enjoy!
4. Reheat Bloomin Onion Using an Air Fryer
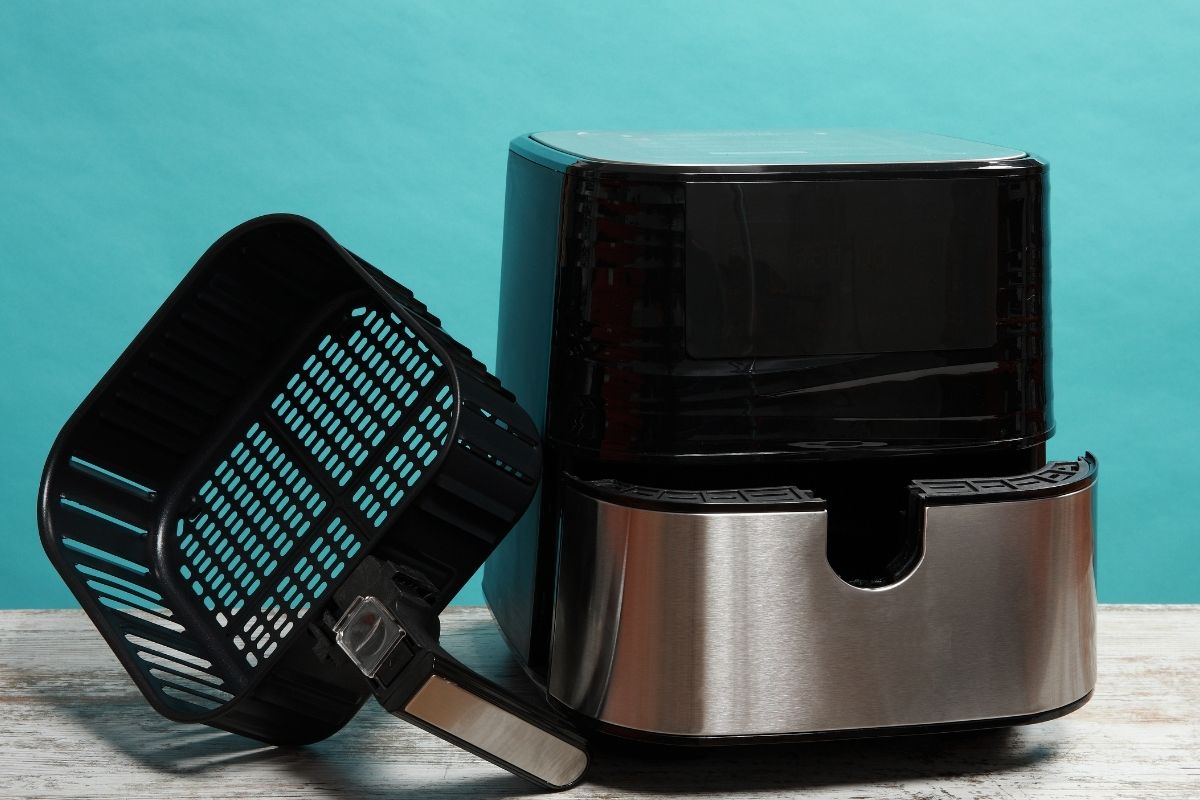
Got an air fryer? You can use this option to reheat your Bloomin Onion while maintaining its crispness and flavor.
- Brush your Bloomin Onion with a bit of oil.
- Heat at 375-400 degrees Fahrenheit.
- Check on the onion during the reheating process.
- Wait for about 10 minutes.
- The onion is ready when it turns crispy and brown.
- Serve and enjoy!
5. Reheat Bloomin Onion Using a Deep Fryer
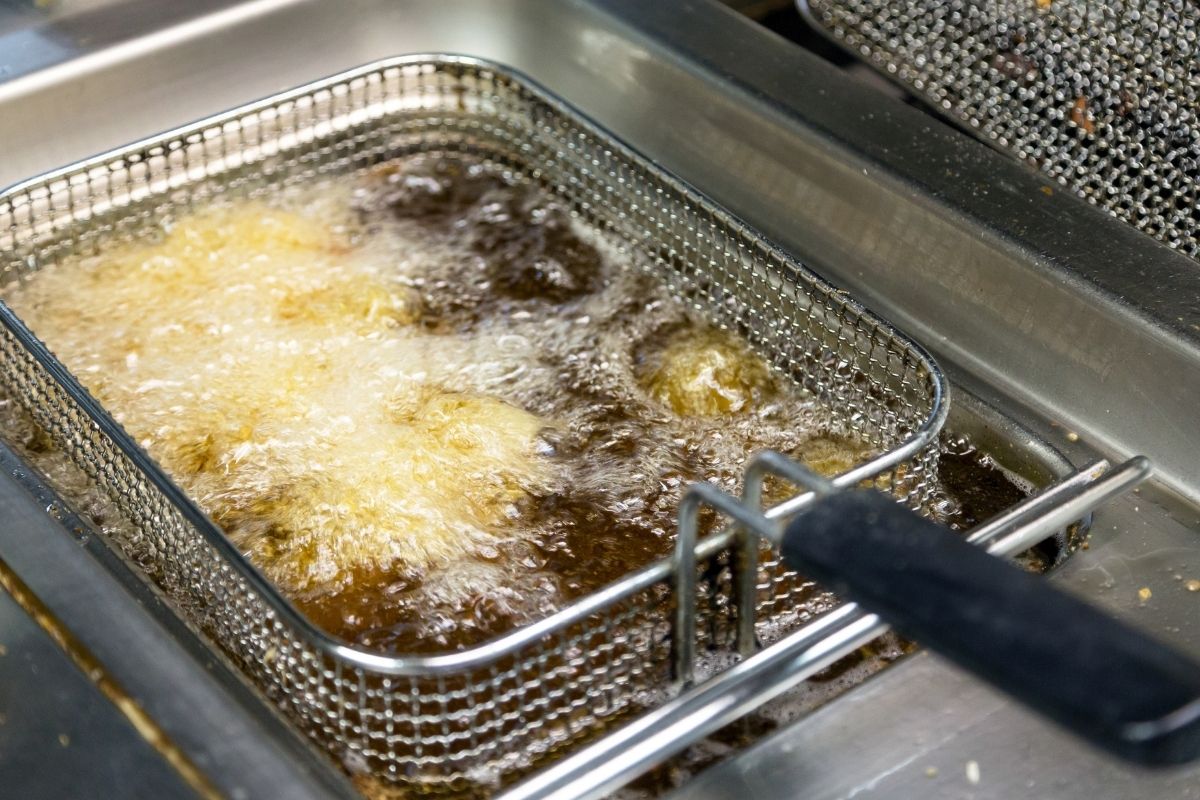
You may also try to deep fry a Bloomin Onion to reheat it. But consider this a last resort because it makes the Bloomin Onion a bit mushy.
- Preheat the oil to 350 degrees Fahrenheit.
- Dip fry for 2-3 minutes.
- The Bloomin Onion is heated fully when it turns crispy and brown.
- Drain the excess oil in a colander lined with paper towels.
- Serve and enjoy.
Reheating Bloomin Onions Tips and Reminders
If you have any leftover Bloomin Onion, ensure that you store it properly. By doing so, you can reheat it and keep it just as delicious as when freshly cooked.
First, remove it from the takeout container and store it in a glass container lined with a paper towel. The paper towel will absorb some of the greases from the onion and prevent it from becoming soggy as it rests.
Second, fold the paper towel sides around the onion and cover it with the lid. Ensure it is airtight.
You can store the Bloomin Onion in the fridge for 4 to 5 days. However, take note that the quality will deteriorate with each passing day. It is best to reheat it as early as possible.
The Bottom Line
You may reheat your Bloomin Onion to achieve a flavor and texture close to when it was first cooked.
The best method is to use an oven. But, you may also use a microwave, frying pan, air fryer, or deep fryer. All these options are effective as long as you do the steps correctly.
PrintHow to Reheat Bloomin Onion in Toaster Oven

Did you bring home some leftover Bloomin Onion at your favorite restaurant? Learn how to reheat it so that it’s still hot and crispy.
Here are step-by-step instructions on how to reheat bloomin onion in a toaster oven.
Ingredients
- Bloomin Onion
- Toaster Oven
- Aluminum Foil or Baking Sheet
Instructions
- Preheat the toaster oven to 400 degrees.
- Put the Bloomin Onion on a baking sheet or aluminum foil.
- Bake for 10 minutes and check on it after 5 minutes to ensure it hasn’t overcooked.
- Remove early if your desired crispiness has been obtained.
- Let it cool for 3-5 minutes.
- Serve and enjoy!
you may also like


well hello there!

Hi, I'm Linda thanks for stopping by! We're so happy you're here. If you're a foodie and love to cook from home - you're in the right place..
LEARN MORE
free newsletter
Join the mailing list and receive our free newsletter!
recent posts


let's be social
search site
Recipe Marker
Recipe Marker provides you with the best information about home cooking tips, recipes, ingredient substitutes and more. Check out our blog to see the latest articles.
Copyright © 2024 Recipemarker.com | All Rights Reserved | Privacy | Disclaimer | Contact