How to Freeze Leftover Chili (Updated 2025)

Made too much chili? Don’t fret. In this article, we will share how to freeze chili so you can save it for later.
However, just like any other food that is suitable for freezing and reheating, there lies a special trick to extend the life of your leftover chili without negatively impacting its overall taste and quality.
Curious to know how? To enjoy your spicy stew in several rounds, here is a brief guide on how to properly freeze chili. Read on.
How to Freeze Leftover Chili?
Step 1: It Starts with Cooling
When freezing any cooked food, never forget to cool the food as quickly as possible. This is because as the food cools down below 140 degrees Fahrenheit, it reaches what we call the “food safety danger zone.”
In short, this is the temperature range in which food-borne bacteria can grow.
During this stage, particularly between 41- and 135 degrees Fahrenheit, bacteria can grow rapidly and can even double in as little as 20 minutes. Knowing this, it is important to ensure that the food you want to freeze cools down speedily.
Since a big pot of chili can take a while to cool, putting it straight into the freezer might not be the best option.
With this, it’s wiser to divide the chili into smaller portions and put them in separate containers. This way, each container will cool more quickly and keep your chili out of the temperature danger zone.
Step 2: Space Matters
Once you’ve divided your chili into smaller portions, the next step is to position each one in the freezer properly. Unknown to many, there’s also a trick when it comes to putting your leftover food away.
This is by spreading the containers around instead of stacking them up together. Stacking the containers in a pile will only slow down the cooling process as it blocks cold air from circulating.
Knowing this, it is better to arrange all the containers in a single layer. This way, the chili in each container can freeze faster and leave the danger zone as fast as possible.
Once they are all frozen, you can then reposition the containers and stack them up together.
Step 3: Use the Right Container
Of course, let’s not forget, it’s best to know what type of container is the most suitable for your chili. Although some automatically choose to use a classic rectangular glass container for their leftover stew, doing so will take up a lot of space in your freezer.
With this, it is best to use freezer bags (not the regular sandwich bags or zip locks!) that are specifically designed for the job.
Not only will they help you save considerable space, but they also promise minimal excess air that may allow frost to form inside, thus shortening the storage life of chili.
Step 4: The Reheating Process
Once you’re ready to eat your remaining spicy stew, you can take it out of the freezer and reheat it.
Generally, there are tons of ways to reheat your chili. These include:
- taking it out of the freezer and leaving it overnight to completely defrost;
- leaving it in a bowl of cool water; or
- putting it straight on the stove.
Whatever method you choose, you will get to enjoy your perfectly preserved spicy stew and make the most out of each bite.
What is Chili?
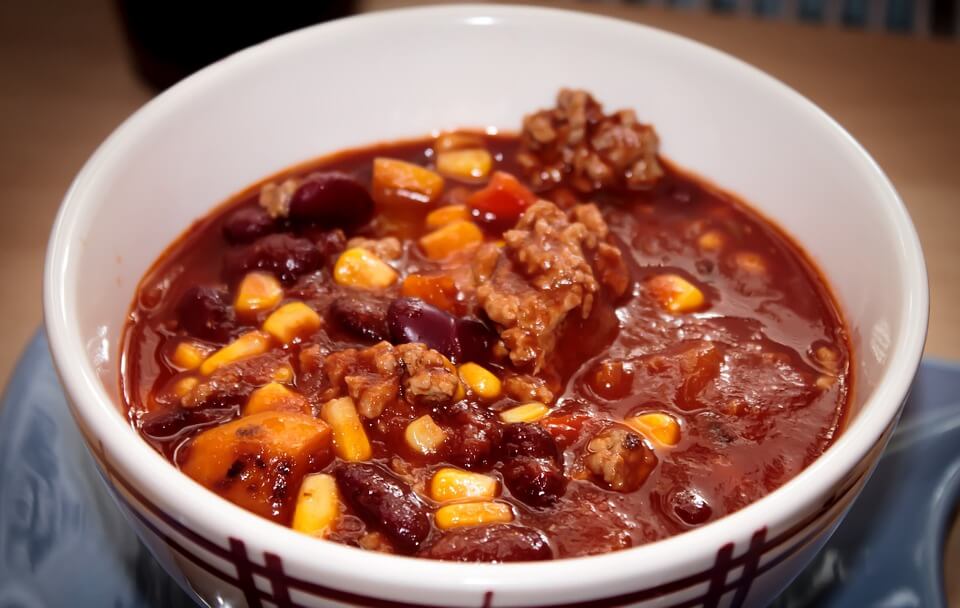
Chili con carne, shortly called “Chili,” is a type of spicy stew that originated in southern Texas. It was traditionally made of chili peppers, and ground meat, and often mixed with tomatoes and beans. Other seasonings may also include garlic, onions, and cumin.
As the dish continues to gain popularity, different variants of chili con carne can be found all over the globe.
Conclusion
Who says you can only enjoy your homemade chili in one sitting? You can also watch this video to learn how to freeze chili so you can eat it later.
With the right tricks and techniques, you can safely leave your favorite dish in your freezer and enjoy it later without compromising its taste and quality.
PrintHow to Freeze Chili Stew
Made too much chili? Don’t fret. We share how to freeze chili stew so you can save it for later.
Follow the steps below to learn how to freeze chili and store it in your home refrigerator.
- Prep Time: 5 minutes
- Total Time: 5 minutes
- Yield: 1 Serving
- Category: Freeze
- Method: Freeze
- Cuisine: Meal
Ingredients
- Chili stew
- Airtight containers
Instructions
- Allow the chili stew to cool completely, to speed up chilling divide the stew into smaller portions and place each into its own container.
- Place the containers into the freezer in a single layer, avoiding stacking at this will concentrate the heat and slow down the cooling process.
- Once the chili stew is frozen the containers can be arranged for optimum storage space.
- To reheat allow the chili stew to defrost overnight in the refrigerator then warm in a saucepan.
you may also like
well hello there!

Hi, I'm Linda thanks for stopping by! We're so happy you're here. If you're a foodie and love to cook from home - you're in the right place..
LEARN MORE
free newsletter
Join the mailing list and receive our free newsletter!
recent posts
let's be social
search site
Recipe Marker
Recipe Marker provides you with the best information about home cooking tips, recipes, ingredient substitutes and more. Check out our blog to see the latest articles.
Copyright © 2024 Recipemarker.com | All Rights Reserved | Privacy | Disclaimer | Contact


